
24.03.2020
Kitesurf Equipment Check
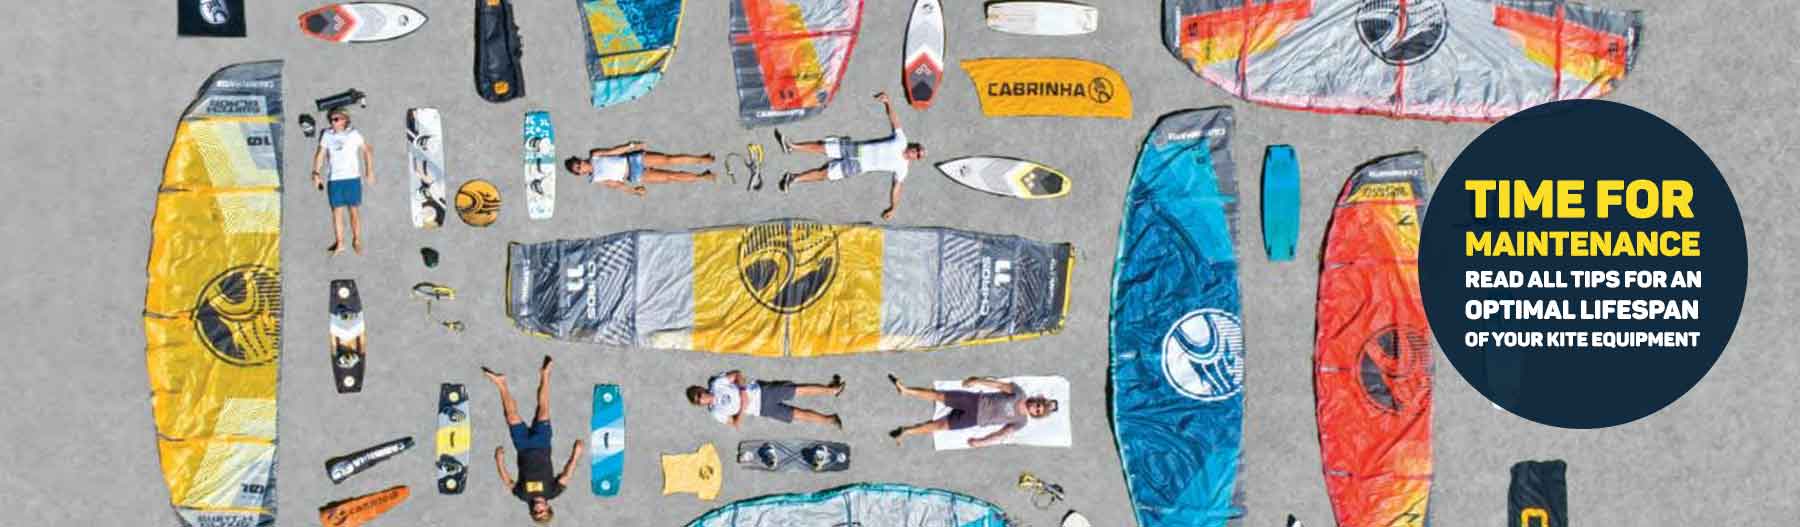
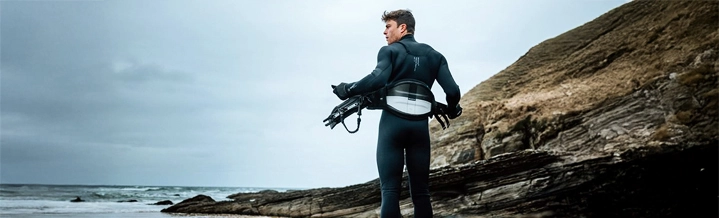
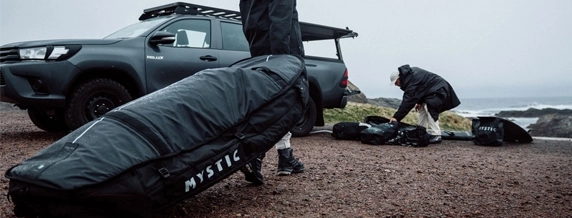
Are you done staring at the TV and can't wait until you can get back on the water for a nice kite session? Then perhaps this is the right time to thoroughly check your kitesurfing materials. Below we have prepared a handy checklist for a complete check of your kitesurfing equipment. This way, you will soon be able to go to the water with peace of mind and the chance of material breakdown will be a lot smaller.
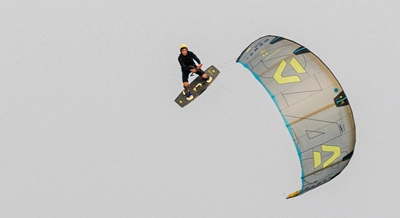
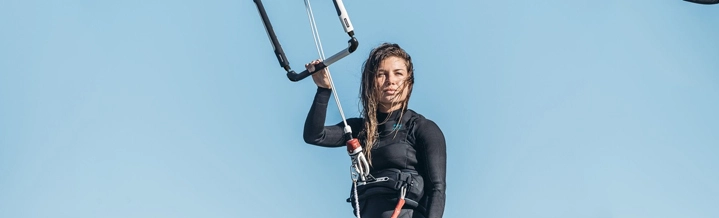
Kite Check
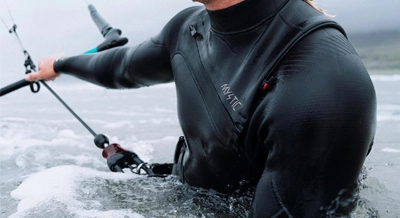
Bar Check
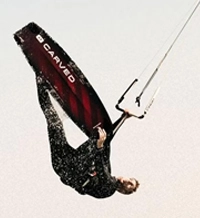
Kiteboard Check
Tips for optimal life of your kite quiver
Now that you have learned more about checking your kitesurfing equipment, it might be useful to give you some tips for maintaining your kitegear. Below you can read some tips and tricks to keep your kite, board and accessories as good as possible.Kite Repair
You have thoroughly checked your kite, bar and kiteboard, great! Now it is time for maintenance and possible repairs. You are of course very welcome in our repair center to have your kitegear repaired professionally. If you prefer to fix your kite yourself, read on below for handy tips & tricks. View here all repair products for your kite.Ripstop Repair
You can fix small tears in the Ripstop of your kite with special dacron or nylon tape. This tape is super strong and waterproof, so that your kite is as good as new after sticking. Cut the tape around and stick it on the inside and outside of the kite for a strong connection. Make sure you first degrease the inside and outside and make the kite is sand and dust free before you start taping. If you have a large damage on the kite, we recommend to visit our repair center for a professional repair.Bladder repair
Do you have a hole in the tube or bladder of your kite, or maybe it is leaking at a valve. Than check the video below from pro rider Tom Court about repairing a kite bladder. If you get a hole in your leading edge or a leak in one of the stuts in the kite, this is how you should fix it. In this video, Tom fixes the leading edge bladder because it is by far the most difficult to do. Learn all the skills and tricks to fix a bladder like a pro here! Then use Tear-Aid to fix the bladder.You have no product(s) in you basket.
Weet je niet waar je moet beginner?
Contact our customer service for advice
