


07.07.2023
How to check your kite gear
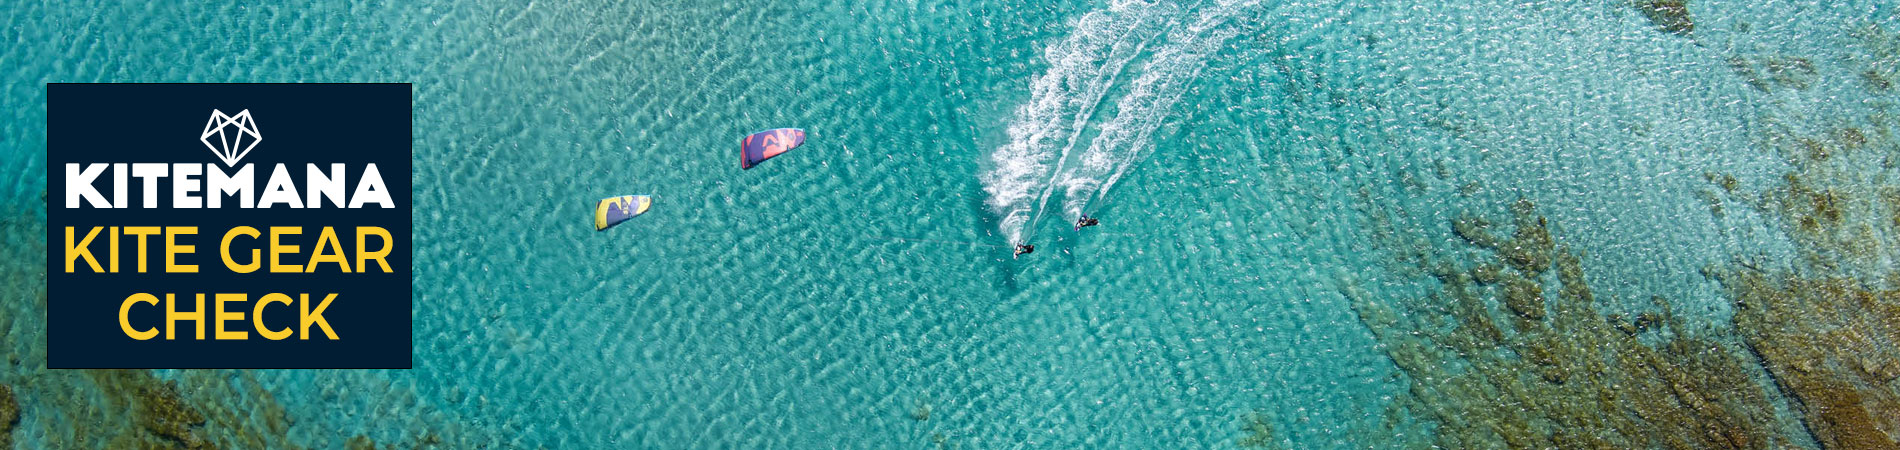
Kitesurfgear Quick Check Guide
Click here for Dutch
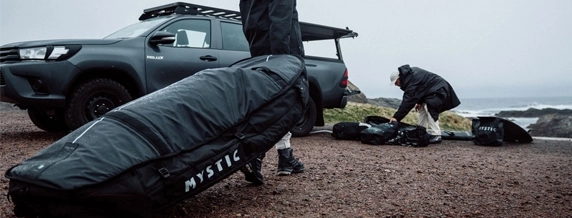
In this blog we will describe how you can do a quick check on your kite gear. So you will be safe and ready for your next session. Kitesurfing is, and will be an extreme sport although safety has been improved a lot the past years. It’s always good to give your gear a quick check when you are going for a long downwinder, holiday of when going back on the water after a winter break.
Are you not sure how to do a repair or replacement? Then please contact us for our repair service.
Check our repair service here:
We have three main subjects we are going to walk you through. Kite, bar and board:
Quickly go to:
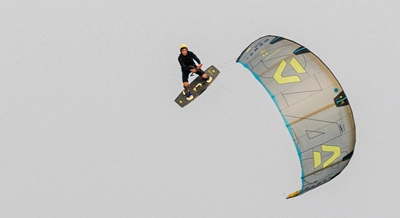
How to check your kite on safety
Pump up your kite to the right pressure. Close the clips on the one pump system to detect a leak in your kite on a specific spot. If your kite is indeed leaking, you can bring it to Kitemana and get it repaired. A small pinhole in your LE bladder can already result in a quickly leaking kite. A small pinholde in your LE bladder can be repaired with a Tear-aid Patch. Tip: you can spray soapy water on the LE and struts to detect the specific spot of the leak.
Step 2: Canopy Look at your kite and inspect the canopy with light from the back, so you can spot small tears (pinholes) better. If your kite has a pinhole, you can fix this easily at home by yourself with the right repair kit. Sometimes it is the case that your kite manufacturer got you a small repair kit, than you can use this one.
After inspecting the canopy of your kite, you can move on to the Leading Edge of the kite. This is an important aspect to check as this it the side of the kite witch is laying on the sand. Check for scratches big or small, or even tears. If your LE is badly damaged you are likely to have a leak in your kite because the material becomes thinner.
For bigger holes and tears in the canopy and LE you can bring your kite to the repair shop at Kitemana.
Step 3: Bridles
On to the next step, checking your bridles on your kite. This lines are extra important to check if you have a sliding bridle pulley. Because the pulley is moving over the bridles itself. Check for damage and wear on the line. If there is a part of the bridle that has extraordinary wear, you should replace it as soon as possible on both sides. This is needed because of the amount of shrink your lines has overtime.
Step 4: Kite Pigtails
To finish the check up of your kite you should inspect your pigtails. Make sure that they are still in good condition and don’t have crazy wear on the loops and knots were you connect your kite. Pigtails can easily be replaced for some brands.
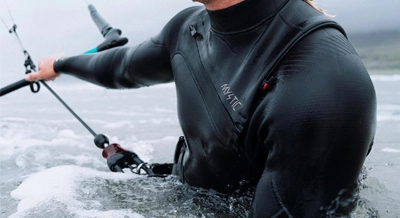
How to check your bar
Step 1: Knots
Check your lines on possible knots in the lines. Knots in your lines are very bad and make your lines at least 50% weaker, which makes them more likely to snap or break. To do this in the best way possible it is recommended to walk out your lines and inspect each line in detail from the beginning to the end of the line. If you have a knot in your line carefully take it out. It can help if you put the knot in water for a long time, or chew very carefully on the knot. After that start the fingerwork on the knot, it might take some time before it is out. But be patient the knot will get out.
Step 2: Line length Line length check. It’s important to have the same line length in al of your 4 or 5 lines. Equal line length makes sure your kite is flying properly and has the best performance as possible on the water, as well as having no chance of unwanted back or front stalling. To check the line length of your bar you should walk out your lines and connect them to a leash or hook on full power, so no depower on the bar when checking. Then apply some pressure on your lines and check if they are even. If not, you can adjust the knots under your floater to make the lines even in length (when your powerlines are longer). Or just ride with a little bit of ‘depower’ to make sure you lines are equal, when your powerlines are longer. Also you can compensate the line length with pigtails.
Step 3: Quick release
Quick release check, this check is really easy but just as important as the other steps. Some brands use a click in system. Make sure all the elastics are working as they should! If there is something wrong with the Quick release don’t repair it yourself and come to Kitemana or sent us your bar for a professional second opinion!
Step 4: Trim/ depowerline
Check trimline/ depower line, this line you use for depowering your kite. this is a very important part of the bar and must be in a good shape. You check the line for wear or weak points. Of course there are many brands and many different trimline systems. So it can be hard to replace it. Of course we at Kitemana have your back and got some all the spare parts in stock for you to replace the trim/depowerline!
Note: if you have a click bar the depower / trim line is integrated in the bar, so make sure to open the click bar and check the leader lines of the bar. (https://www.kitemana.com/duotone-kiteboarding/leader-line-pair-click-bar-84655?vId=84655)
Also check the depowerline which runs trough your bar. If you have a rope depowerline it is easily checked. Check for excessive wear and check if the bar hole is not to sharp. If you have a PU depowerline which runs trough your bar make sure there are no holes in the PU as they are very likely to wear out quickly.
Step 5: Pigtails
Checking the pigtails, you have two kinds of pigtails. The first one is connected to the bridle of the kite. the other is sleeved around your power and steering lines. Make sure al the sleeved parts of the pigtail looks just like this one and have no scratches or anything. Also take a look at the knot where the other pigtail is attached to.
Step 6:F lagging line
If you have a bar with a PU coating. Make sure that the PU is not damaged or that it is dried out. Also take a look at the flagging line inside the covered PU. With a covered PU the flagging line is not visible when kiting so it is extra important that it is checked before going in to the water, also make sure that there are no twists in your flagging line. If your flagging line is twisted a lot it will damage it self and will brake easier. Example of bars which have a pu coated or covered flagging line are Click Bar, Navigator bar, Cabrinha bars, Core sensor bar and the new DreamStick.
Pro tip for preventing your PU coated depower / flagging line from wearing out quickly is: when rolling in your lines make sure the PU coated piece is free and not rolled around the bar. (example)
How to check your kiteboard
Make sure all of your hardware is tight up and is not wiggling in the inserts, tip: maybe bring some extra screws if you are planning on making a long downwinder.
Step 2:
Make sure that there are no deep scratches, when you can see the core the scratch is too deep. The core will get wet, delaminate and the board might break.
Step 4:
Make sure you own one of the Kitemana tracking stickers, so that if you lose your board you can find it back!
You have no product(s) in you basket.
Weet je niet waar je moet beginner?
Contact our customer service for advice
